English


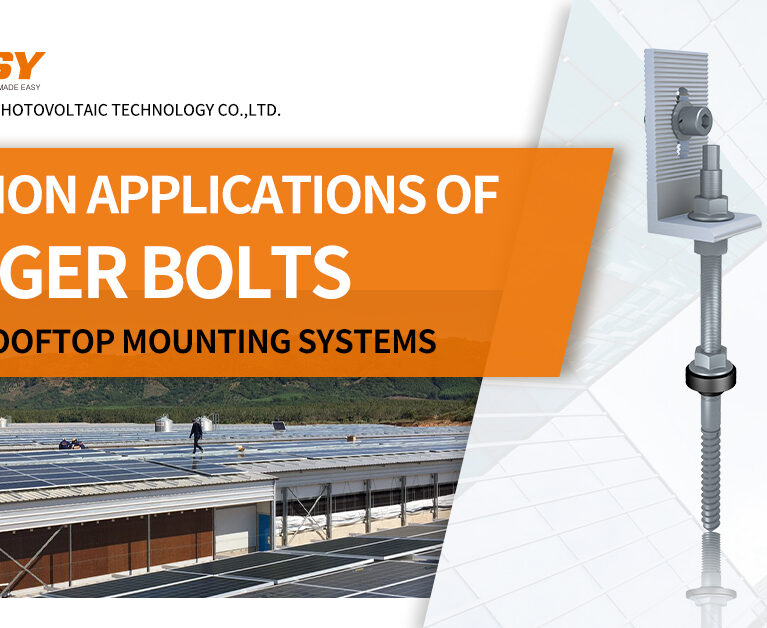
In rooftop solar projects, mid clamps and end clamps may appear small, yet they play a vital role in the stability and safety of the entire PV array. These rooftop PV clamps secure modules to mounting rails, directly affecting whether a system remains operational for over 25 years. Poorly selected or low-quality clamps can allow modules to lift in strong winds, deform under snow loads, or loosen due to vibration, resulting in micro-cracks, reduced power output, or even safety hazards. Conversely, carefully selected and properly installed clamps distribute loads evenly, provide reliable electrical grounding, and maintain the structural integrity of the array. Therefore, understanding how to choose and use PV module mounting clamps is essential for any solar roof installation.
Understanding Mid Clamps and End Clamps
Mid clamps are installed between two adjacent modules, securing both simultaneously. They prevent modules from sliding or shifting, distribute wind and snow loads to rails, and provide electrical grounding through serrated teeth that penetrate the aluminum frame’s oxide layer. They also maintain proper spacing to allow thermal expansion and contraction. End clamps, installed at the beginning and end of a PV array, secure the outer edges of modules, prevent wind uplift, define the reference line for array layout, and give the system a finished appearance.
Choosing the right type of clamp for your rooftop PV system is critical to ensure safety, durability, and system performance.
Material Selection for PV Clamps
Material choice affects both performance and lifespan. The following table summarizes the common materials used in rooftop PV clamps, highlighting advantages, limitations, and ideal applications:
| Material | Advantages | Limitations | Best For |
|---|---|---|---|
| Aluminum Alloy | Lightweight, corrosion-resistant, compatible with aluminum rails | Lower strength than steel | Inland, general environments |
| Stainless Steel 304 | High strength, good corrosion resistance | Higher cost; requires isolation from aluminum | Coastal, high-humidity areas |
| Stainless Steel 316 | Excellent salt-spray resistance | Very high cost | Within 1 km of coastline, chemical plants |
| Hot-Dip Galvanized Steel | Low cost, high strength | Prone to rust if coating is damaged | Short-term or dry inland (not recommended for long-term rooftop use) |
For most projects, aluminum clamps offer the best cost-performance ratio, whereas stainless steel clamps or Zn-Al-Mg coated clamps are recommended for highly corrosive environments.
Key Factors in Clamp Selection
Several factors determine the correct mid and end clamps for a rooftop PV system. Module type and thickness are primary considerations, as mono- and polycrystalline modules usually have 30–40 mm frames, bifacial glass-glass modules are thinner or frameless, and thin-film modules may require custom clamps. Selecting a clamp too tight can crush the module frame, while a loose clamp fails to secure the module.
Roof type and mounting system also influence selection. Tile roofs with hooks and rails often work with standard clamps. Standing seam metal roofs need specialized seam clamps, while rail-less or mini-rail systems typically use compact or integrated designs connecting directly to L-feet.
Wind and snow loads define the mechanical requirements. High-wind areas require clamps with longer gripping surfaces and higher torque ratings, while heavy snow regions need strong shear resistance. As a practical guideline, clamps should handle at least 1.5 times the ultimate load. In areas with wind speeds above 150 km/h, extended end clamps with a gripping length of 60 mm or more improve uplift resistance.
Environmental corrosion further guides material choice. The table below shows recommended materials by environment class:
| Environment Class | Typical Scenarios | Recommended Material |
|---|---|---|
| C1–C2 (Low) | Dry inland, rural | Aluminum (anodized) |
| C3 (Medium) | Urban/suburban | Aluminum + powder coating, SS304 |
| C4 (High) | Industrial, high humidity | SS304, Zn-Al-Mg coated |
| C5 (Very High) | Coastal (<1 km), chemical plants | SS316 |
Installation Best Practices
Proper installation is as important as selection. Tightening torque must be controlled carefully because insufficient torque can loosen modules and cause wind-induced fatigue, while excessive torque may crush frames and create hidden glass cracks. Standard torque ranges are 8–12 Nm for M6 bolts and 15–20 Nm for M8 bolts. Installers should always follow manufacturer specifications using pre-set torque wrenches or torque-limiting impact drivers.
Clamps should be evenly spaced along rails, with mid clamps aligned to reinforcement ribs and end clamps positioned squarely at module edges to ensure even load distribution. Regular inspections every 12 months or after major wind or snow events help maintain system safety. Bolt tightness should be verified, clamps examined for corrosion, module alignment checked, and unusual movement noises noted. Any loose or damaged clamps should be re-torqued or replaced immediately.
Ensuring Long-Term System Safety
Although mid and end clamps are small, they are indispensable for the safety and efficiency of rooftop PV systems. Selecting the right clamps involves considering module frame thickness, rooftop corrosion environment, wind and snow loads, and installation efficiency. Adjustable or pre-assembled clamps improve installation speed, while reinforced or extended designs provide extra security in high-load conditions. Ultimately, a high-quality clamp ensures secure fixation, corrosion resistance, ease of installation, and reliable electrical grounding, guaranteeing the long-term stability and safety of the entire PV array.