 English


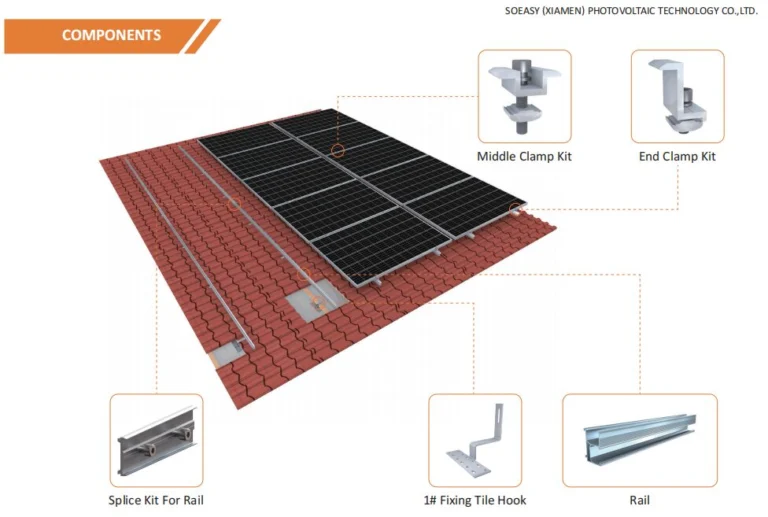
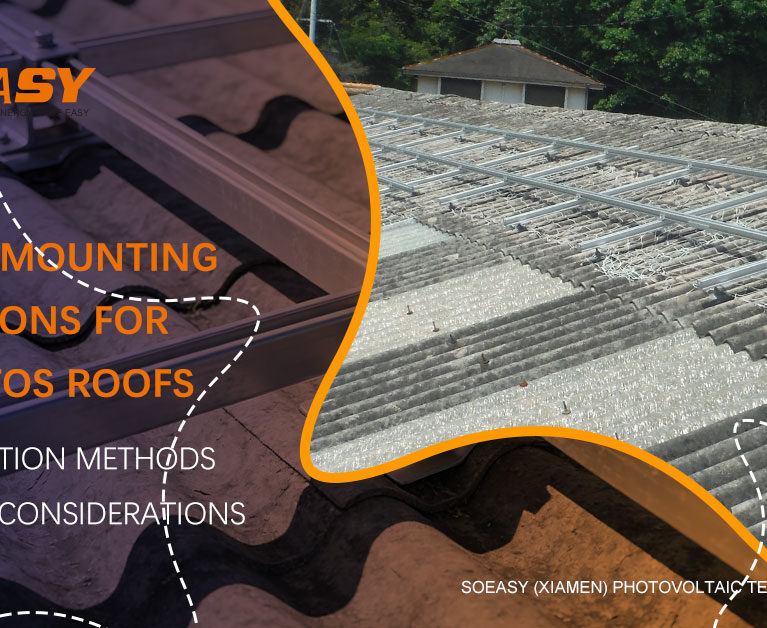
In the world of distributed solar energy, the mounting hook is far more than a simple fastener. It is the critical interface that bridges the building’s structure with the photovoltaic array. The quality of its installation directly dictates the system’s mechanical integrity and the roof’s long-term resistance to leaks.
Based on years of EPC field experience and failure mode analysis, we have outlined the comprehensive five-step workflow for professional hook installation.
I. Precision Positioning
Accurate positioning is the prerequisite for level rails, neat module alignment, and smooth electrical routing. Relying on visual estimation often leads to purlin misalignment and “snaking” rails.
- Coordinate Mapping: Based on the PV array layout, identify the exact coordinates for the first and last hooks. Typically, the span along the roof slope should not exceed 1200mm, while the perpendicular spacing depends on module width and local wind load calculations.
- Purlin Verification: On tile roofs, hooks must be anchored to the underlying purlins, not just the tiles. Use a rangefinder to verify actual purlin spacing—on-site reality often deviates from blueprints by 5–20mm.
- The Marking Protocol: We recommend a dual-color system: Red for the purlin centerline and Blue for the drill center. Use a string line to ensure all marked points across the roof are perfectly linear.
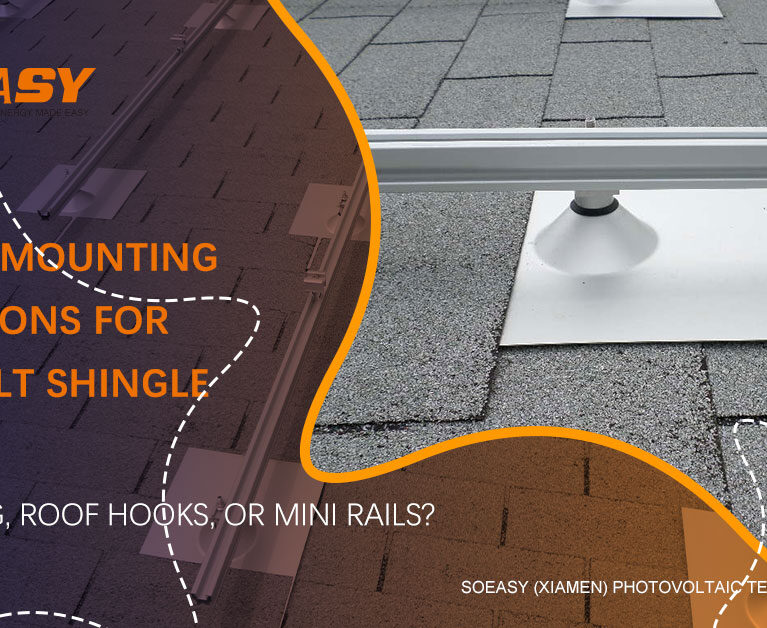
II. Tile Management: The “Zero-Damage” Principle
Tile breakage is a primary source of homeowner disputes. The goal is a process that is fully reversible without compromising the original waterproofing.
- Surgical Removal: Use a flat roofing pry bar to gently lift tiles. Never strike tiles vertically. For interlocking tiles, remove the two overlapping pieces above first to prevent snapping the “ears” (lugs) of the target tile.
- Winter Caution: In temperatures below 5℃, tile brittleness increases 3–5x. Use an industrial heat gun to preheat tiles to 20-30℃ before handling.
- Substrate Preparation: Once the tile is removed, the base layer often contains decades of debris, moss, and degraded membranes. Use a wire brush or angle grinder to clean the surface. The hook base must sit directly on the structural concrete or wood rafters, not on old, soft waterproofing layers which can “creep” over time and cause bolts to loosen.
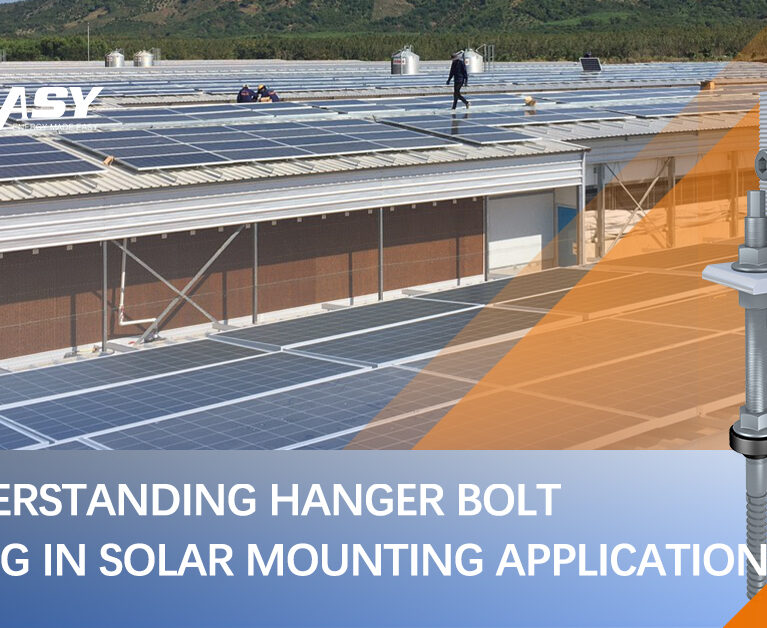
III. Fastening Strategy: Matching Hardware to Substrate
The primary failure modes for hooks are bolt loosening due to wind vibration and strength loss due to corrosion.
- For Wood Structures: Use stainless steel self-tapping screws (dia≥5.5mm) with an effective embedment depth of dia≥60mm. Pre-drilling (at 80% of the screw diameter) is essential to prevent wood splitting.
- For Concrete Decks: Utilize M8 x 80mm stainless steel expansion bolts. Ensure the 80mm refers to the depth inside the concrete, excluding the thickness of any screed or insulation.
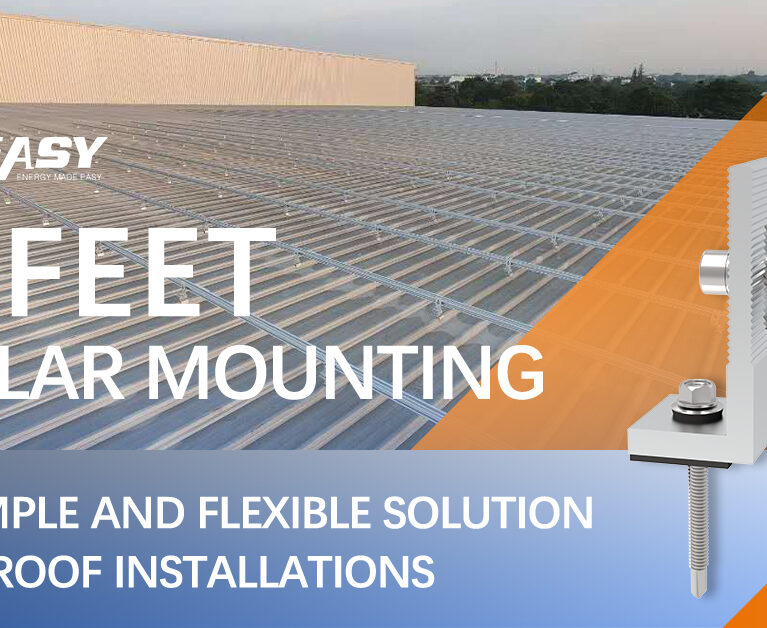
- For Steel Purlins: Use M5.5 or M6.3 self-drilling screws for thinner gauges. For steel ≥3mm, switch to M8 bolts with serrated anti-slip washers.
| Substrate | Recommended Fastener | Specification |
| Wood Rafters | Stainless Steel Hanger Bolt | $\ge 5.5\text{mm}$ dia; $\ge 60\text{mm}$ embedment |
| Concrete Deck | SS Expansion Anchor | $M8 \times 80\text{mm}$ (effective depth in concrete) |
| Steel Purlins | Self-Drilling Screws | $M5.5/M6.3$ (must penetrate 3 threads) |
IV. Professional Waterproofing: Seal After Tightening
The most common cause of leaks isn’t the failure of the sealant itself, but the wrong installation sequence.
- EPDM Gaskets: Every bolt hole must have an EPDM (Ethylene Propylene Diene Monomer) foam gasket. Compression must be kept between 30%–50% to maintain elasticity.
- The “Tighten First” Rule: Apply a neutral, weather-resistant silicone (Grade 25+) around the base only after the hook is fully tightened. If you apply sealant before tightening, the pressure will squeeze the sealant out, creating hidden micro-channels for water.
- Tile Reinstatement: When replacing tiles, apply a 5mm dot of sealant at the contact points and overlaps. Warning: Never “flood” the underside of the tile with sealant; this blocks the roof’s natural “breathing” and causes condensation-driven structural rot.
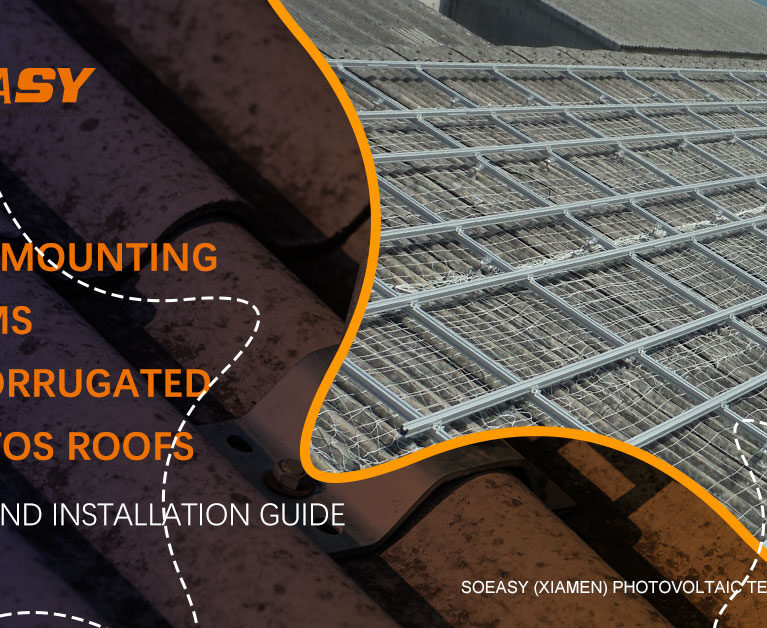
V. Rail Installation: The Secondary Skeleton
Only after the hooks are inspected should the aluminum rails be mounted.
- Material Standards: We recommend 6005-T6 Aluminum Alloy, known for a tensile strength ≥260MPa. The anodic oxidation layer must be ≥15μm to ensure both corrosion resistance and grounding stability.
- Connection & Leveling: Use stainless steel T-bolts with a torque of 12–16N·m. Use a laser level to ensure the rail elevation deviation is ±2mm/m.
- Final Inspection: A well-installed rail system should look like a precise grid—smooth, regular, and mechanically sound. Any misalignment here will translate into micro-cracks in the solar cells under long-term thermal expansion.
Why SOEASY Solar? Standardizing the Complex
In a market obsessed with module efficiency, we focus on the “invisible” foundations. SOEASY Solar offers a Pre-Assembled Smart Hook System:
- Laser-Precision Base: Integrated十字线 (cross-hairs) for millimeter positioning.
- Visual Torque Washers: The outer ring snaps off once the correct torque is reached—eliminating guesswork.
- Dual-Barrier Waterproofing: Factory-fitted EPDM + Butyl composite gaskets.
Every hook is a 25-year promise. Partner with SOEASY Solar to turn every rooftop into a masterpiece of engineering.


1 Comment
Way cool! Some very valid points! I appreciate you writing this
post and the rest of the site is extremely good.
Bennie
13 Feb, 2026